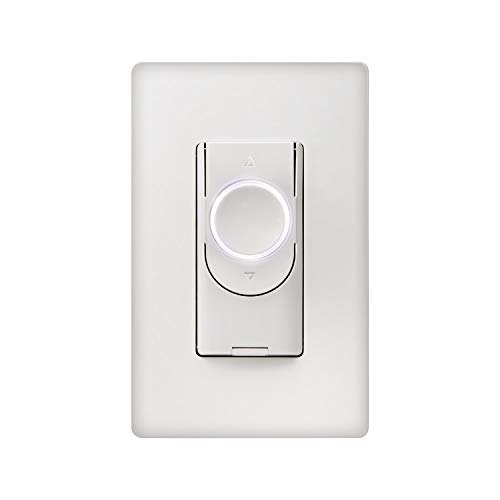
The process of installing a smart switch is no different than replacing any other type of electrical switch in your home. You’ll want to take the proper precautions (we’ll help you with that, too), but you don’t need to hire an electrician, and you won’t need any special tools. You can do the job with a screwdriver and a pair of pliers or wirecutters. A non-contact voltage tester is handy if you want to be extra safe, but you can buy one of those for less than $15 on Amazon.
There are many types of smart switches, and while this story isn’t intended to help you decide which smart switch is best for your needs, it will guide you through the process of installing any one of them. That’s because they’re all essentially the same in terms of their wiring.
There are a few important distinctions you’ll want to keep in mind. First and foremost, an on/off switch will do just that: In one position, it will send electricity to the socket your light bulb is screwed into, turning it on. In the other position, it will stop electricity from flowing to that socket, turning the bulb off. A dimmer switch can also vary the amount of electricity flowing to the socket, so that you can brighten or dim the light bulb as well as turn it on or off.
If you want to change the color of your lighting, you’ll need a smart bulb, not a smart switch. Unfortunately, smart dimmer switches and smart bulbs typically don’t work together. That’s because smart bulbs are equipped with radios that depend on a steady supply of electricity to operate, and a dimmer varies the amount of electricity flowing to the bulb.
Do you need a single pole switch or three-way?
 Daniel Masaoka / IDG
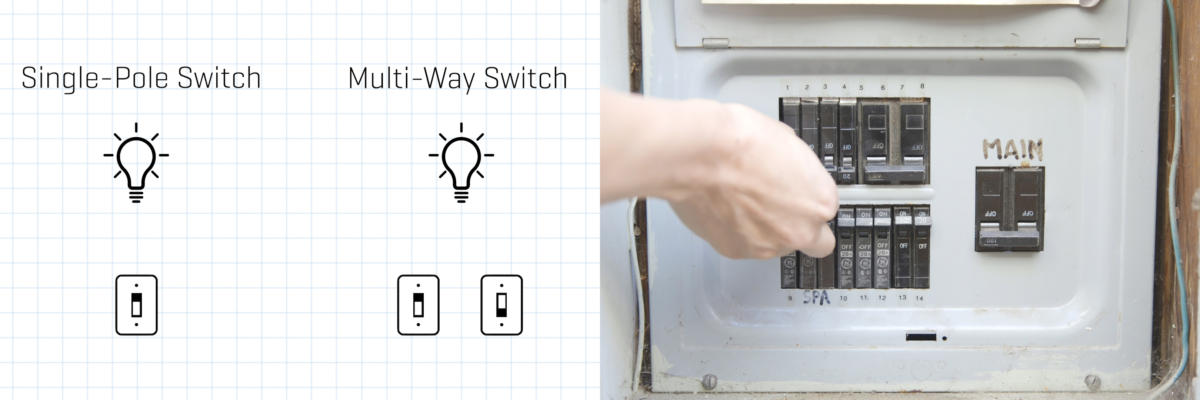
Single-pole switches are the easiest to replace, since only one switch controls the circuit. In a three- or four-way circuit, more than one switch can turn the bulb on and off.
Next, you’ll need to determine if you need a single-pole or a three-way switch. If only one switch controls the flow of electricity to that bulb you want to control, you have a single-pole switch. If two switches can control it—for example, switches on opposite sides of the room—you have a three-way switch (if more than two switches control the same light, it’s described as a four-way circuit.)
If you’re replacing a dumb switch on a three- or four-way circuit, you’ll typically need to replace the other switch or switches on that circuit with companion switches from the same company that made the smart swtich you’re installing. (The latest Wemo WiFi Smart Light Switch 3-Way is an exception to that rule, and it can also be used in a single-pole installation. It cannot, however, dim a light.)
In this how-to, we’ll replace a single-pole switch with a C by GE Start Smart Switch Motion Sensing+Dimmer, but the process isn’t radically different for a multi-way circuit. (And if you don’t need all the features this dimmer offers, GE Lighting offers four simpler and less-expensive alternatives.) The first step—and the most important—is to identify which circuit breaker controls the electricity flowing to that switch and to turn it off.
 Daniel Masaoka / IDG
You’ll find instructions for installing a C by GE C-Start Smart Switch Motion Sensing+Dimmer on a multi-way circuit here, but the upshot is that you’ll need a C by GE smart switch on all the other legs of the circuit.
The next step is to remove the cover plate so you can access the switch itself. Waving a non-contact voltage tester inside the junction box is the best way to confirm that electricity is not flowing to the switch. The battery-powered tool should beep and light up if it detects current. If there’s more than one switch in the box, make sure they also don’t have electricity flowing to them.
Once you’ve confirmed that the power is off, remove the screws holding the switch to the junction box and pull it out so you can access the electrical wires. Most smart switches require four wires to operate, including a “neutral” wire which should be colored white or gray. The neutral wire carries power back to the circuit breaker panel to complete the circuit, so despite its innocuous-sounding name, an electrified neutral can shock you. If your wiring doesn’t include a neutral wire, your choice of smart switch will be limited (more on that in a bit).
The “line” wire that carries power from the breaker panel to the switch will customarily be colored black, red, or blue.The “load” wire carries electricity to the socket (and by extension, to the bulb) and will typically be colored white or gray, like the neutral wire. The final wire, protective ground, will be either a bare wire or a wire in a green jacket. The ground wire will prevent you from getting shocked if there’s a short circuit.
If your home lacks a ground wire, you might not be able to install a smart switch, although there are various workarounds that we won’t get into here. If your home lacks a neutral wire, you might consider installing a Lutron Caséta smart dimmer, as it does not require a neutral wire to operate. There are a few other alternatives that don’t depend on the presence of a neutral wire.
Installing a smart switch
Now that you’ve determined your home’s wiring situation and purchased a smart switch or dimmer, you’re ready to install it. Once again, make sure you’ve turned off the power to the switch. It’s always a good idea to double-check that the power to the switch is still off using the voltage tester.
 Daniel Masaoka / IDG
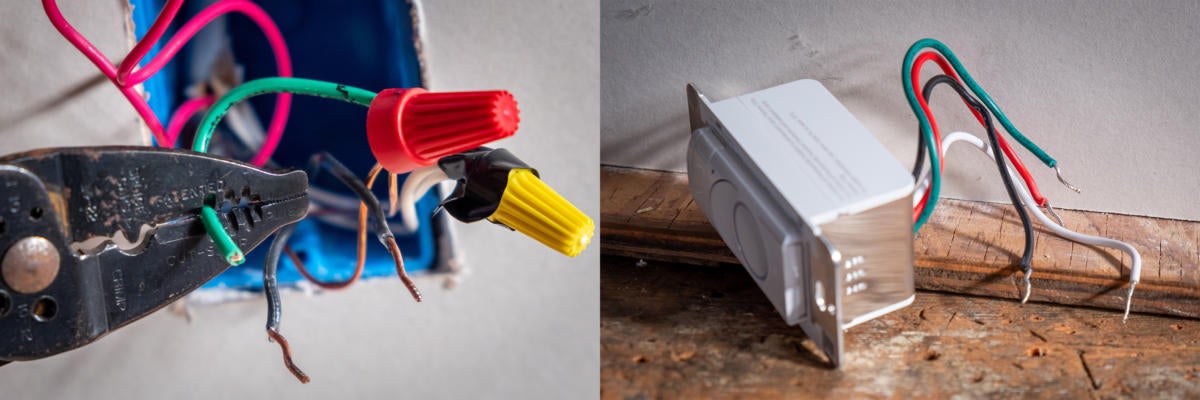
Disconnect your old switch from your home’s wiring. The C by GE smart switch we’re installing uses pigtail wires; other switches have screw terminals and still others rely on backstabs.
Disconnect your old switch from your home’s wiring. You might need to snip and strip off about a half inch of the wire sheath to expose he copper wire underneath. You can use wire snip or any similar tool for this step. Smart switch manufacturers use different wiring techniques. Some have screw terminals that you bend the wire emerging from your wall around, others have pigtail wires that you bind to your home’s wiring using wire nuts, and still others have backstabs that you push your home’s (solid) wires into.
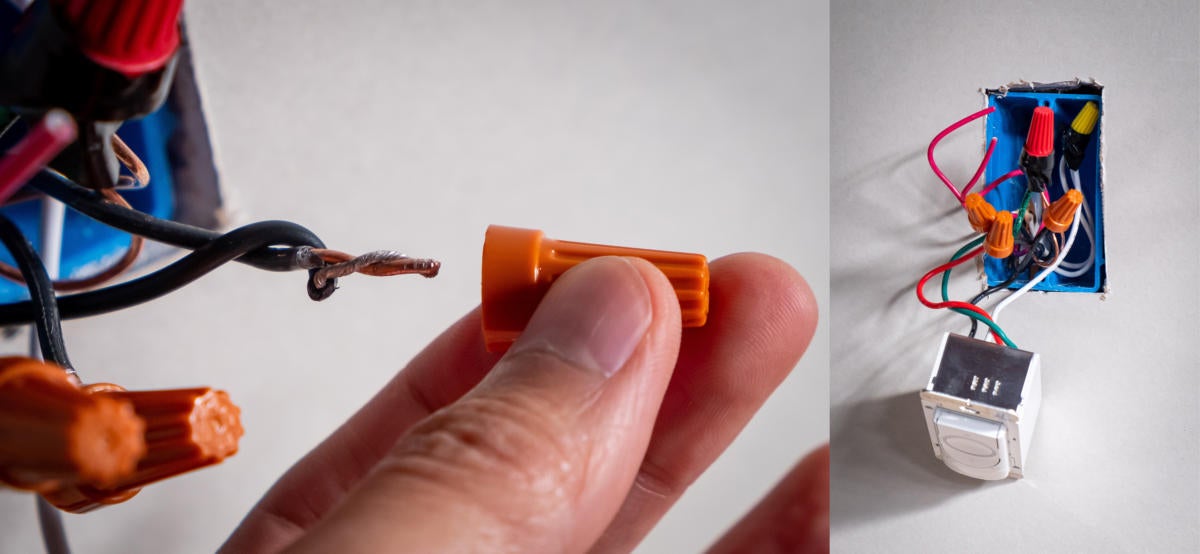
The C by GE switch we’re installing in this example uses pigtails, so twist each of the line, load, neutral, and ground wires to the matching wires emerging from the junction box, using a wire nut to hold each of them together. If you’ve installed a switch that doesn’t require a neutral wire (such as the Lutron Caséta mentioned earlier), put a wire nut on the end of that neutral wire coming out of the wall, making sure that none of the bare copper wire remains exposed (you can snip off the excess, or wrap the wire and the wire nut in electrical tape).
 Daniel Masaoka / IDG
If your smart switch has pigtails, like the one in our example, twist the like wires together (neutral to neutral, load to load, and so on) and secure each of them with a wire nut.
Push the excess lengths of wire back into the junction box, and then do the same with the switch and secure it to the box with either the provided screws or the screws you removed from the existing switch. Now replace the cover plate. Note: It’s best practice to use plastic cover plates with smart switches. Metal plates are pretty, but they can block the signals the smart switch’s radio depends on to operate. Finally, go to your breaker panel and restore power to the switch.
 Daniel Masaoka / IDG
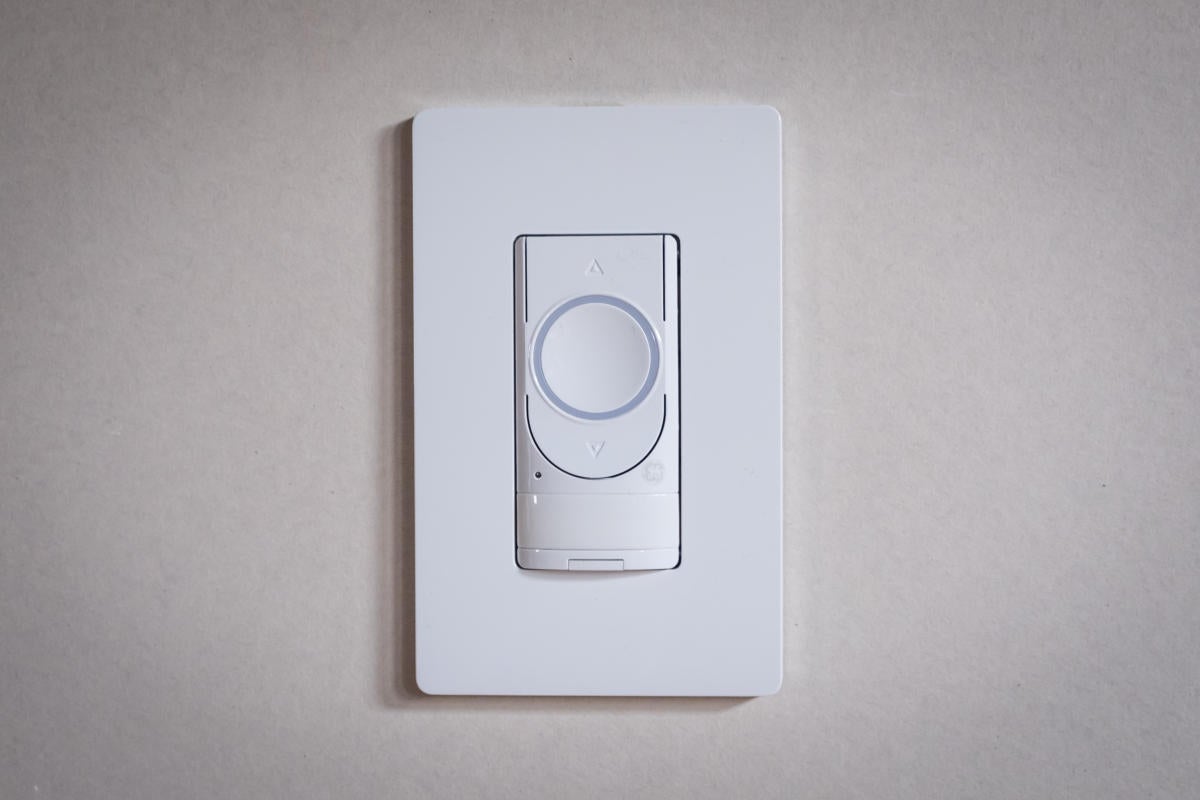
A C by GE smart dimmer installed and ready for the next step in the installation.
Flip the switch to ensure it properly controls the fixture. Don’t panic if the light bulb doesn’t turn on, there’s always a chance that the bulb is burned out even if it was working before you changed switches. To verify that it’s still operational, screw it into a fixture you know is working and check that before you do anything else. Finally, once you have the switch working correctly, install the mobile app you’ll need to control it from your smartphone or tablet. Congratulations! You’ve just replaced a dumb switch with a smart one.
